
Gary Green is a cannabis farmer who has been growing his own plants for over 20 years. He's an expert in different strains and their effects, and enjoys sharing his knowledge about the cultivation process.
Why Should You Bother Cleaning Your Dab Rig? 🤔
Over time, your dab rig can accumulate residual THC wax and other byproducts of smoking dabs. This buildup can negatively affect the flavor of your concentrates and the overall performance of your rig. Regular cleaning maintains the quality of your dabs and keeps your rig in top shape.
What's in Your Dab Rig Cleaning Kit? 🧹
Before starting the cleaning process, gather the necessary materials: isopropyl alcohol, coarse salt, cotton swabs, and zip-lock bags. If your rig has intricate designs or hard-to-reach areas, consider getting pipe cleaners or special brushes.
Your Easy-Peasy Guide to Cleaning a Dab Rig 📚
Now that we've covered why it's important to clean your dab rig and what materials you need, let's get into the nitty-gritty of how to actually clean it. Follow these steps to keep your dab rig sparkly clean and ready for your next session.
Your 5-Step Guide to Cleaning a Dab Rig
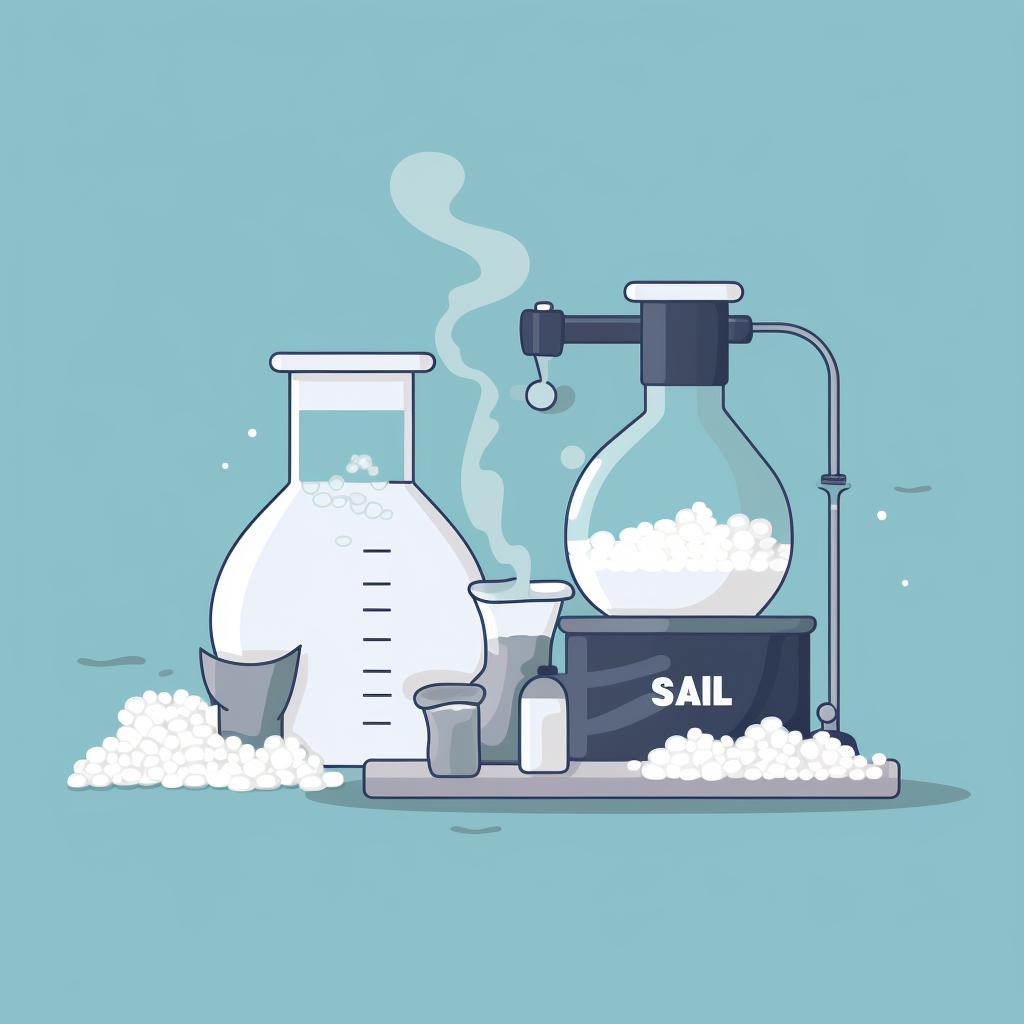
Step 1: Disassemble Your Dab Rig
Start by carefully disassembling your dab rig. This usually involves removing the nail or banger, the downstem, and any other removable parts. Be gentle to avoid any damage.
Step 2: Soak the Pieces in Isopropyl Alcohol
Place each piece of your dab rig into a separate zip-lock bag. Fill the bags with enough isopropyl alcohol to fully submerge the pieces. Let them soak for about 30 minutes to an hour to loosen up the residue.
Step 3: Add Coarse Salt and Shake
After soaking, add a generous amount of coarse salt to each bag. Seal the bags and shake them gently. The salt will act as a scrubber to remove any stubborn residue.
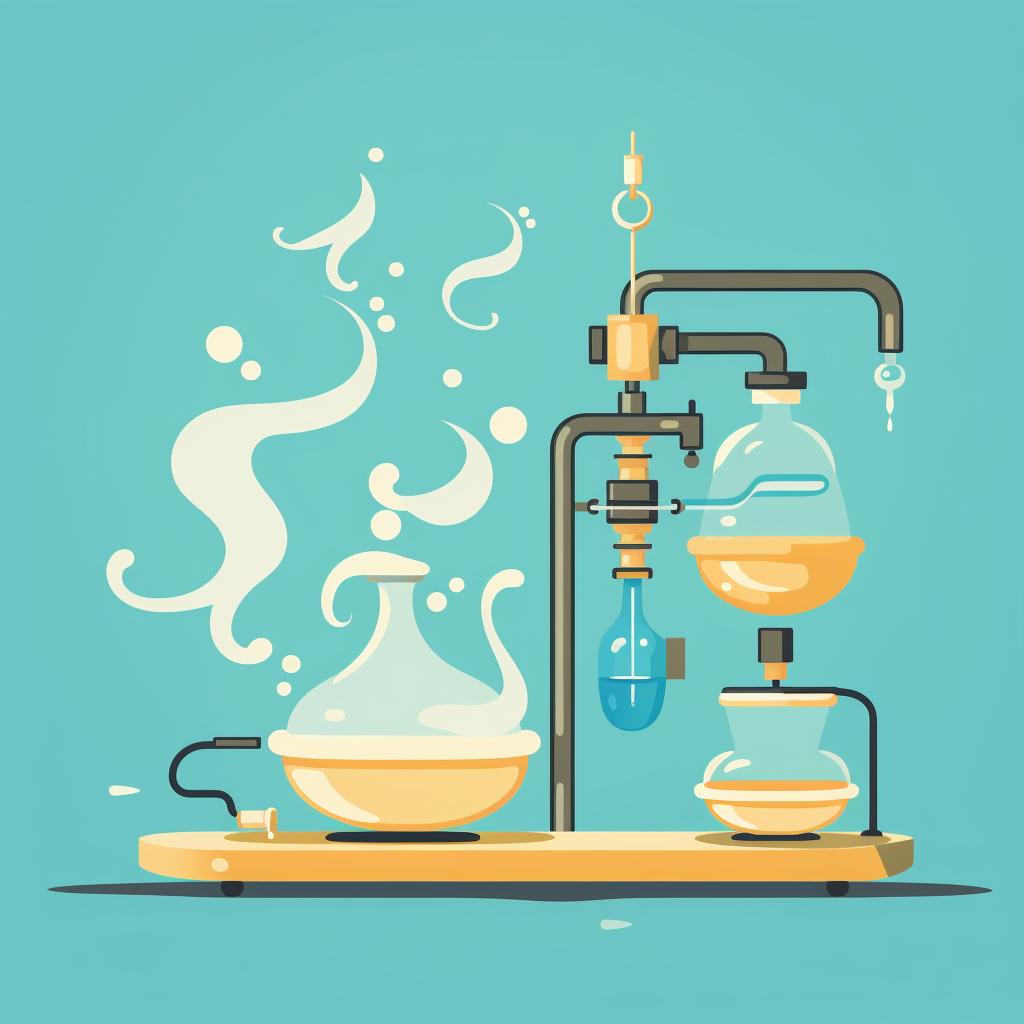
Step 4: Rinse with Warm Water
Remove the pieces from the bags and rinse them thoroughly under warm water. Make sure to rinse off all the isopropyl alcohol and salt.
Step 5: Dry Each Part Carefully
Once all the pieces are clean, dry them carefully with a towel or let them air dry. Make sure they're completely dry before reassembling your dab rig.
Learn more about Your 5-Step Guide to Cleaning a Dab Rig ✨ or discover other Errly Bird guides.
And there you have it! Your dab rig is now clean and ready for your next dabbing session. Remember, regular cleaning will help maintain your rig's performance and longevity. Happy dabbing!
First, carefully disassemble your rig. Place each piece in a separate zip-lock bag and fill it with isopropyl alcohol until the pieces are fully submerged. Let them soak for about 30 minutes. Then, add a generous amount of coarse salt to the bag. Shake the bag gently but firmly for several minutes until the residual wax starts coming off. Rinely each piece with warm water, ensuring that all the alcohol and salt are removed. Lastly, dry each part thoroughly before reassembling.
Keep Your Dab Rig Happy with Regular Maintenance! 😊
Regular maintenance is key to keeping your dab rig clean and functional. After each use, make sure to remove any leftover wax with a cotton swab. This prevents buildup and makes the cleaning process easier. Also, change your rig's water regularly. This not only keeps your rig clean but also ensures optimal flavor.
Extra THC Wax Cleaning Hacks for the Curious 🎩
Remember, not all dab rigs are the same. Some may require special cleaning methods, especially those with intricate designs. Always refer to the manufacturer's instructions for specific cleaning guidelines.
Now that we've covered the basics, let's dive into the cleaning process. Here's a handy checklist to guide you through each step:
By following this checklist, you'll ensure your dab rig is clean and ready for your next session. Proper cleaning is essential for the best dabbing experience and regular maintenance keeps your rig in top shape.
Proper dab rig cleaning is essential for the best dabbing experience. Regular maintenance keeps your rig in top shape, preserves the flavor of your cannabis concentrates, and extends the life of your rig. So, never skip cleaning your dab rig after each session.
For more tips on maintaining your vape or dab rig, check out these articles on how to clean and maintain your vape pen and essential vape maintenance tips.
And if you're new to dabbing, you might find this beginner's guide to dabbing helpful. Happy dabbing and cleaning!


All Rights Reserved © 2025