Master the Art of Preparing Your Dab ✨
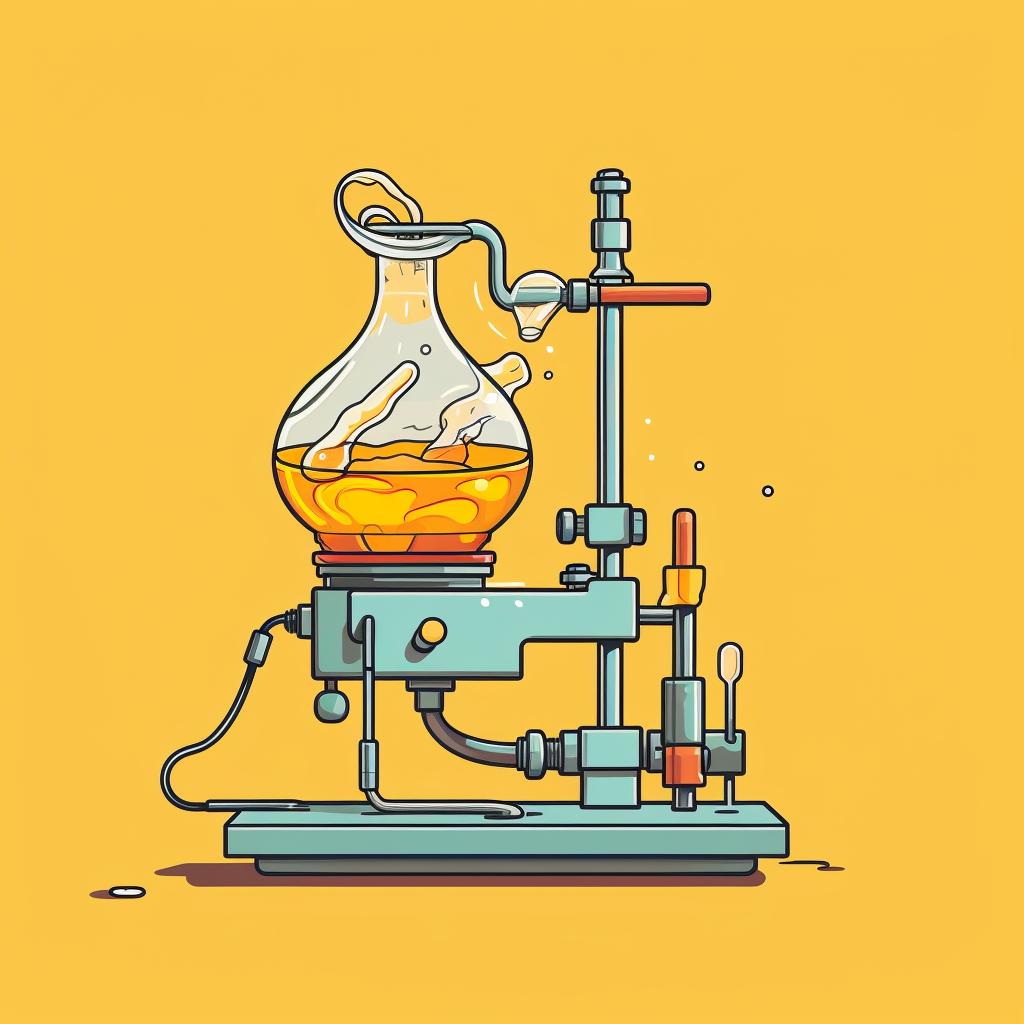
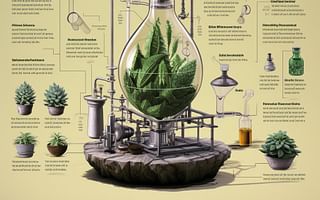
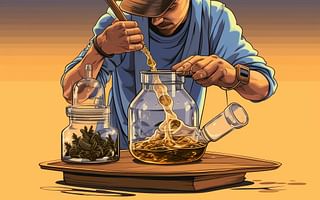
Welcome to the world of dabs! If you're new to this, don't worry. We've got you covered. Dabbing is an art, and like any art, it requires patience, practice, and the right tools. Our step-by-step guide above has given you a brief overview of how to prepare your dab. Let's delve a bit deeper into each step and why it's important.
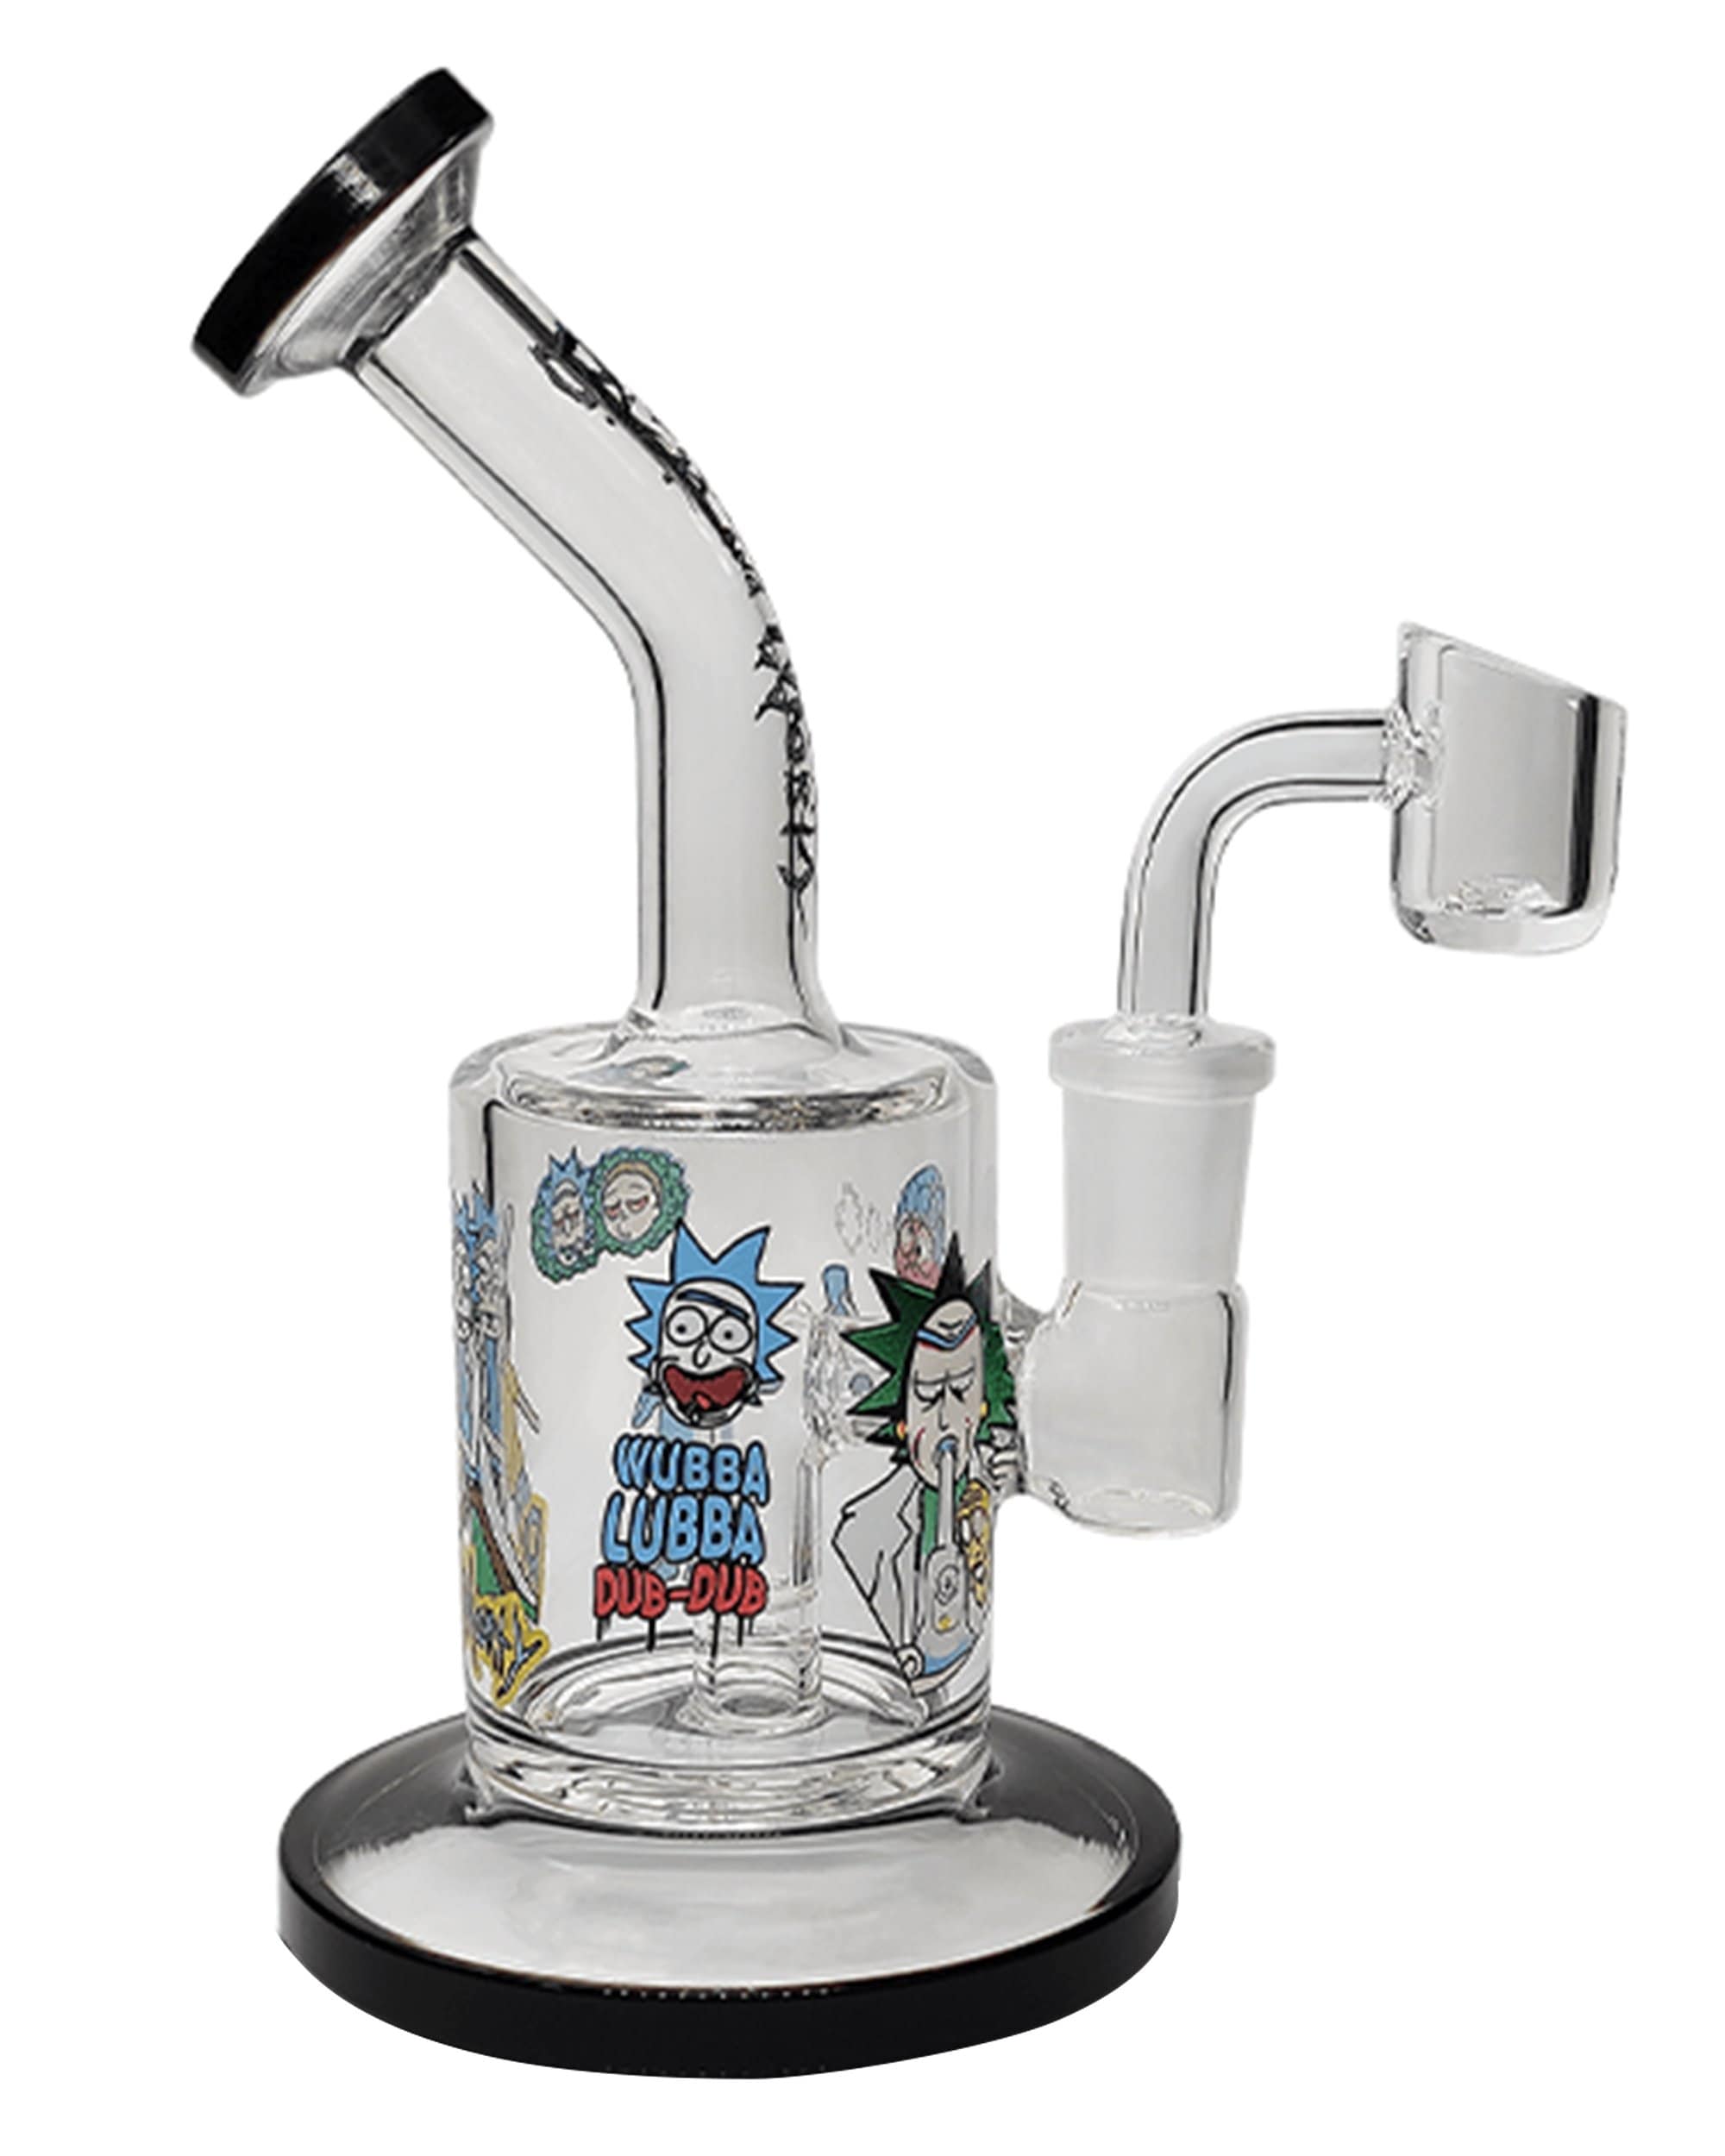
First things first, you need to gather your materials. This includes your dab rig, dab tool, torch, and THC crystals. Each of these elements plays a crucial role in the dabbing process. If you're a beginner, check out our article on essential equipment for beginners to ensure you have everything you need.
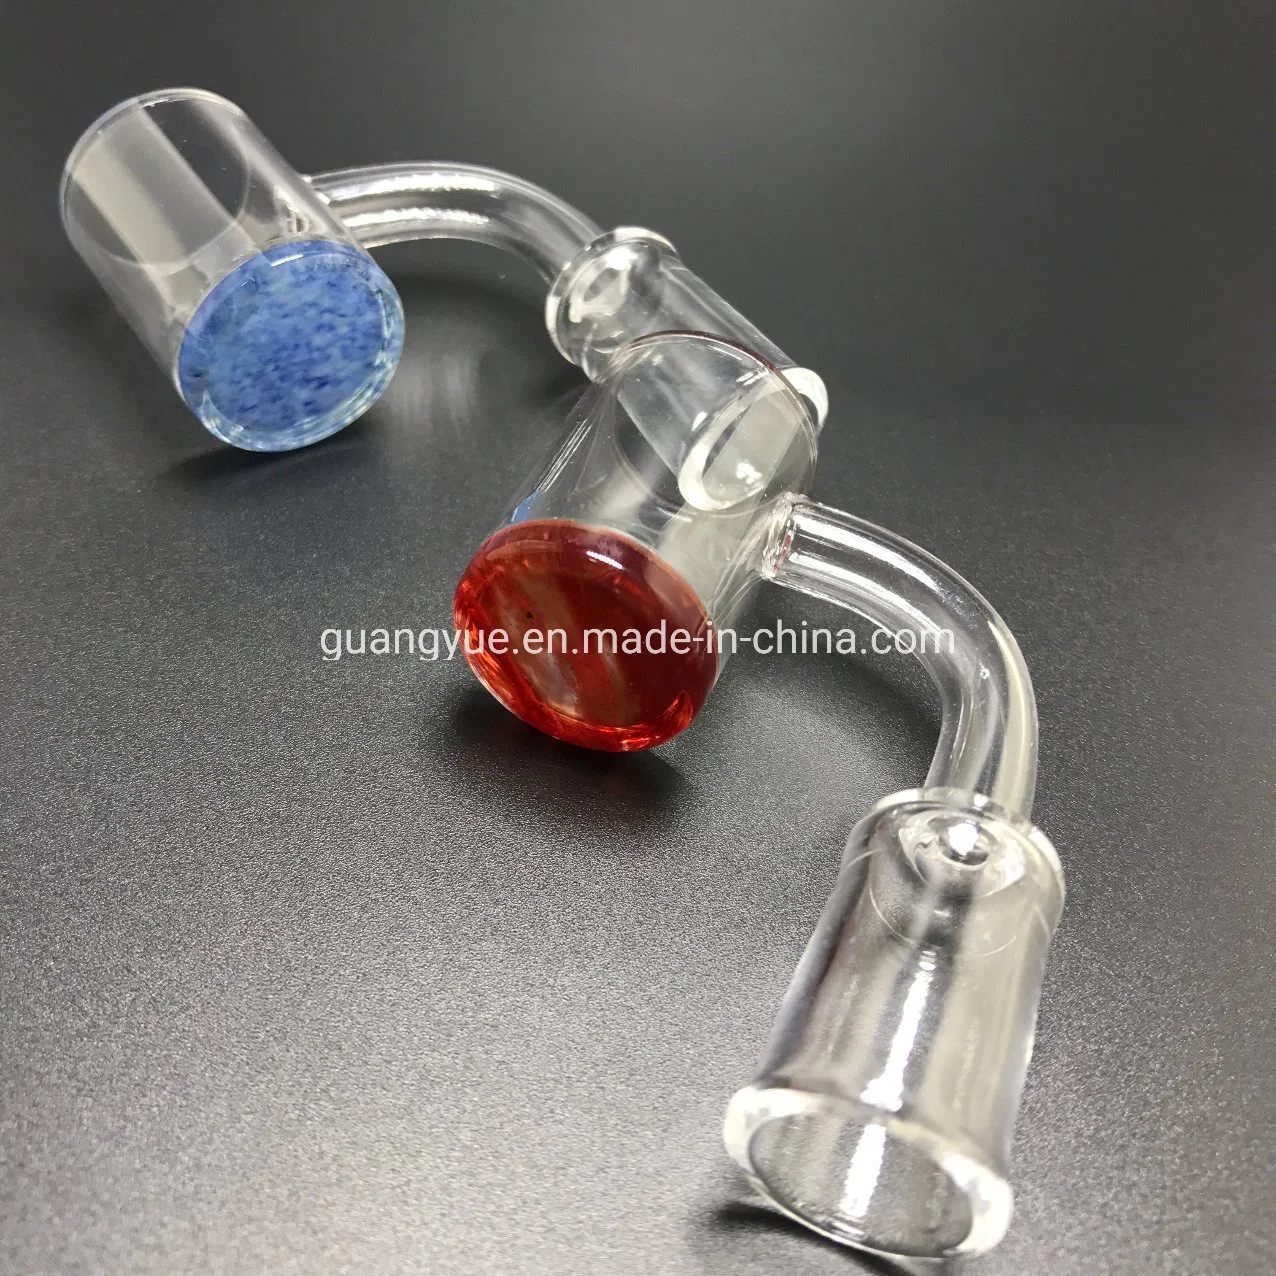
Next, you'll need to heat up the nail on your dab rig. This step is vital because it ensures the THC crystals vaporize properly. But how hot should it be? And how long should you heat it? Our Dabbing 101 guide provides a detailed explanation of how to do this safely and effectively.
Once your nail is red hot, it's time to let it cool. Why? Because if the nail is too hot, it can burn the THC crystals, causing them to lose potency. This cooling process is an essential part of mastering the dab.
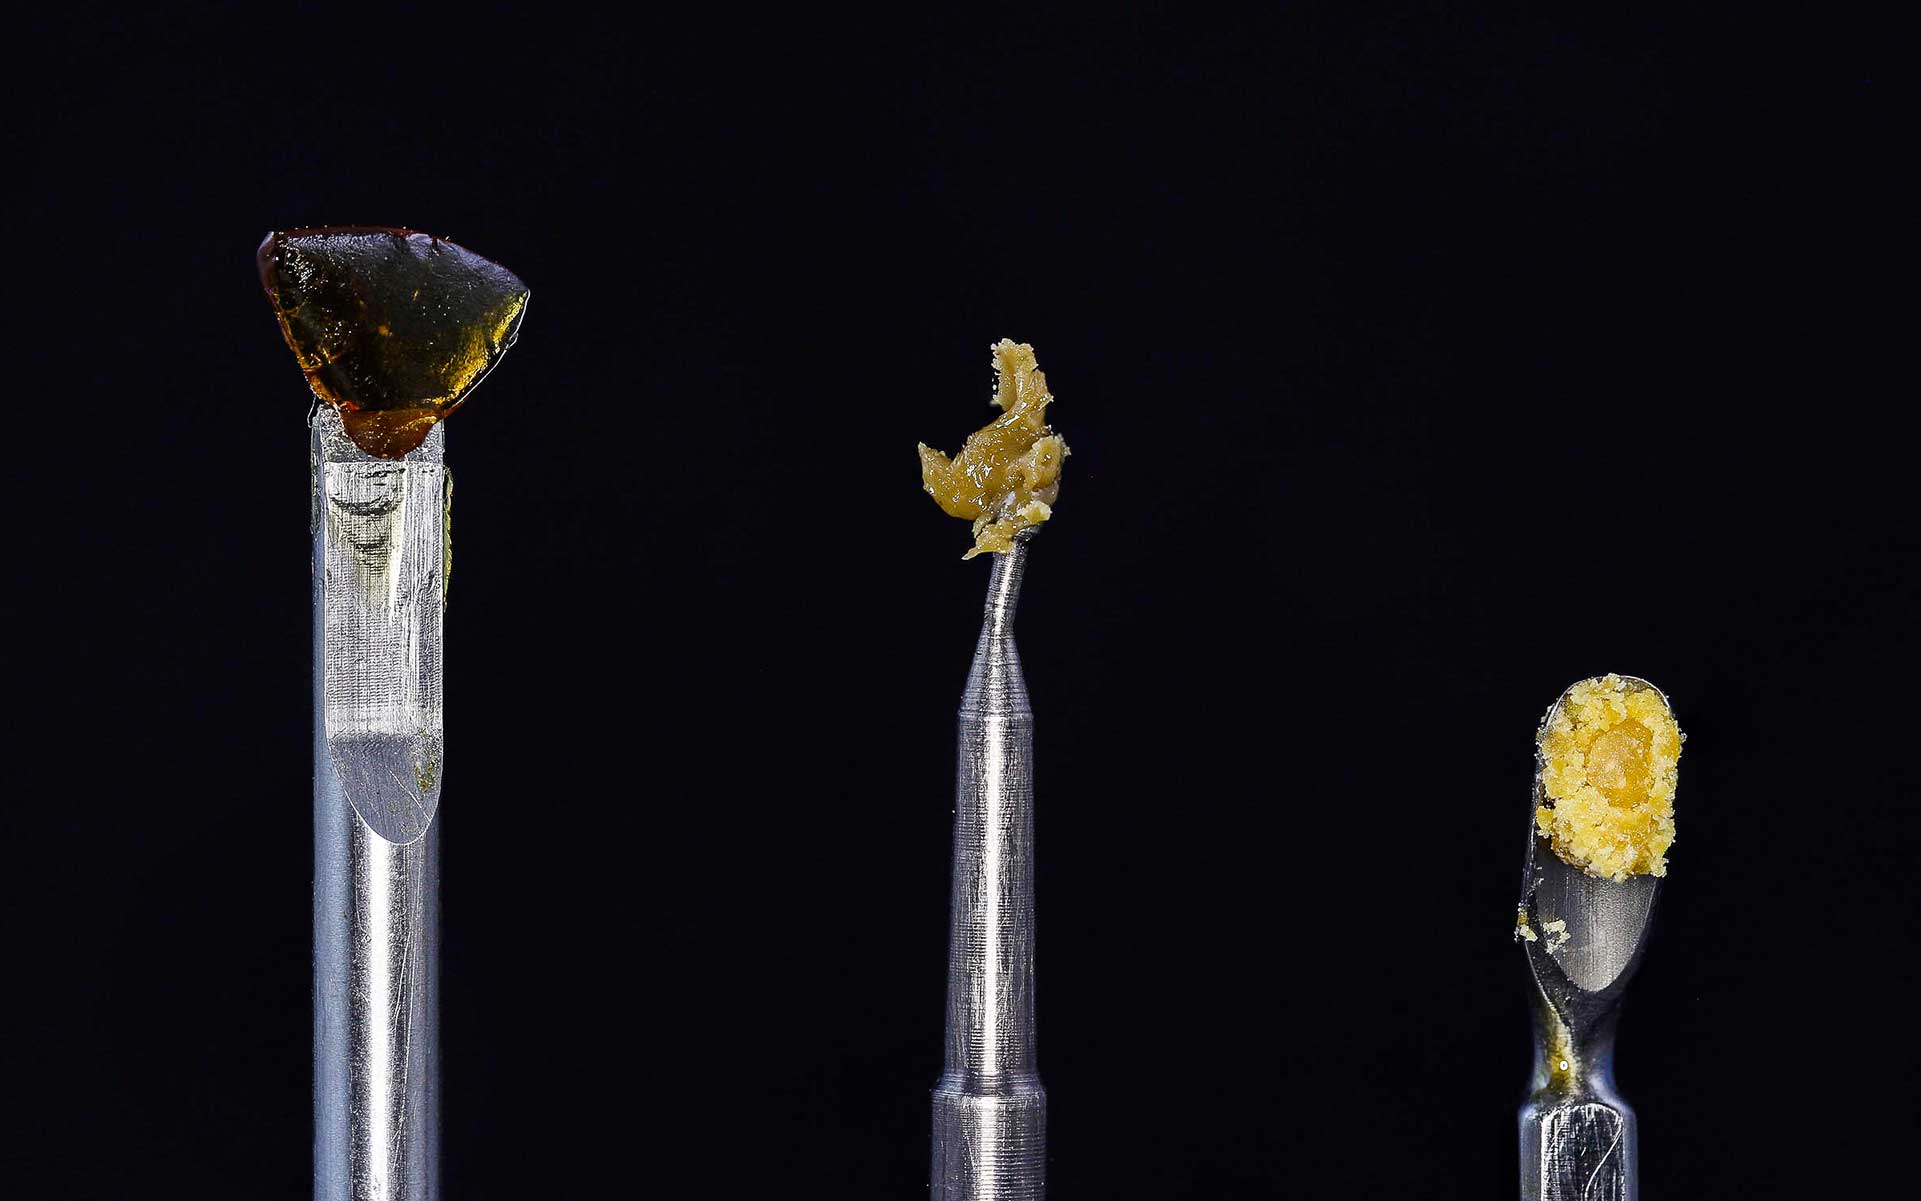
Finally, you'll apply the THC crystals to the cooled nail using your dab tool. Remember to start with a small amount and increase as needed. If you're unsure about how much to use, our FAQ on dabbing without wasting oil can provide some guidance.
And there you have it! You're now well on your way to becoming a dabbing pro. Remember, practice makes perfect. So, take your time, be patient, and most importantly, enjoy the process. Happy dabbing!

